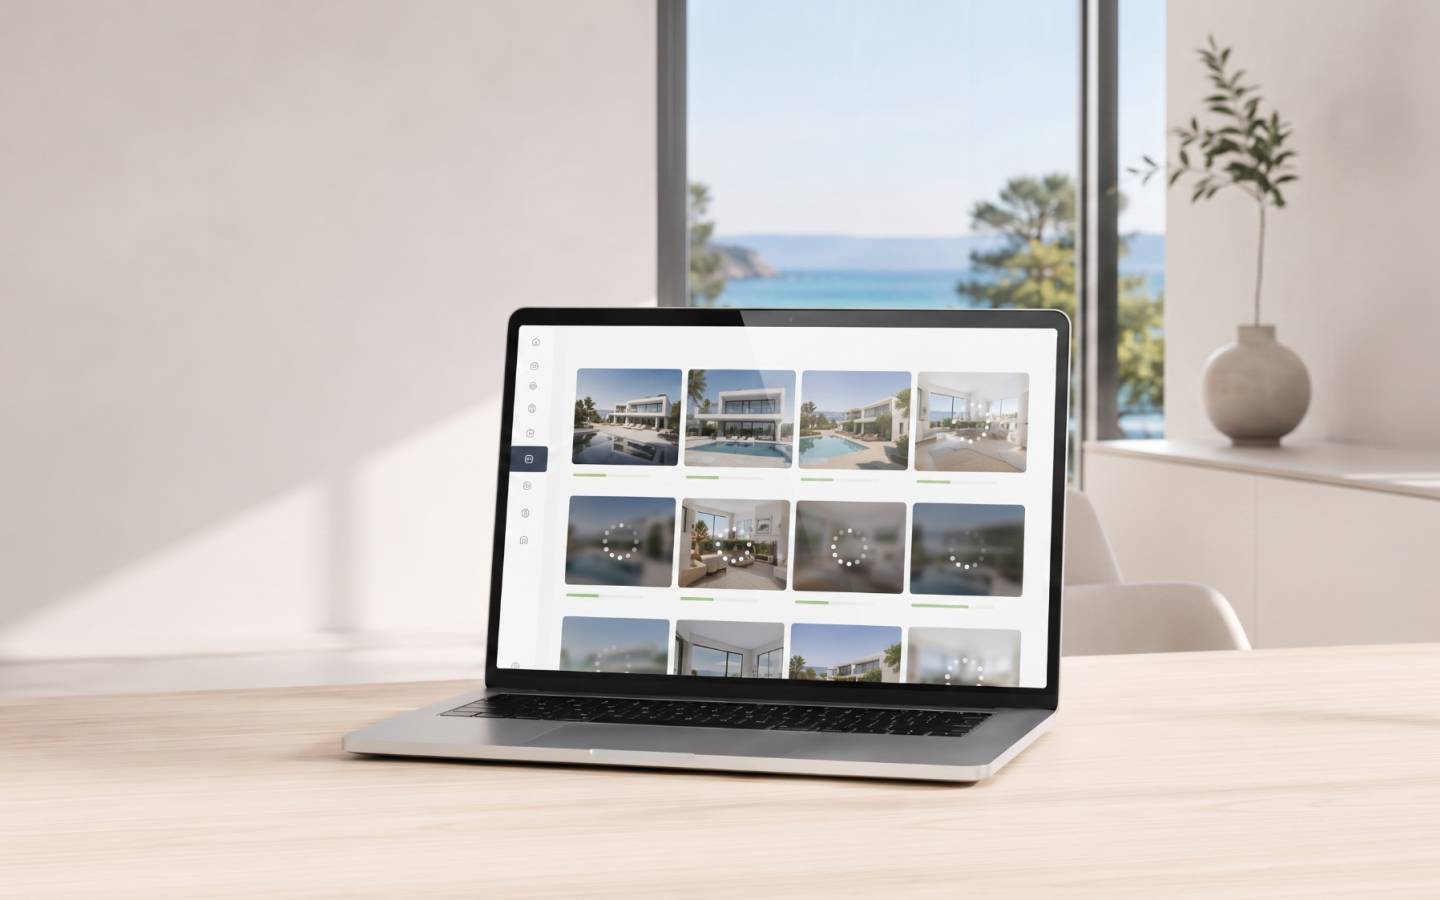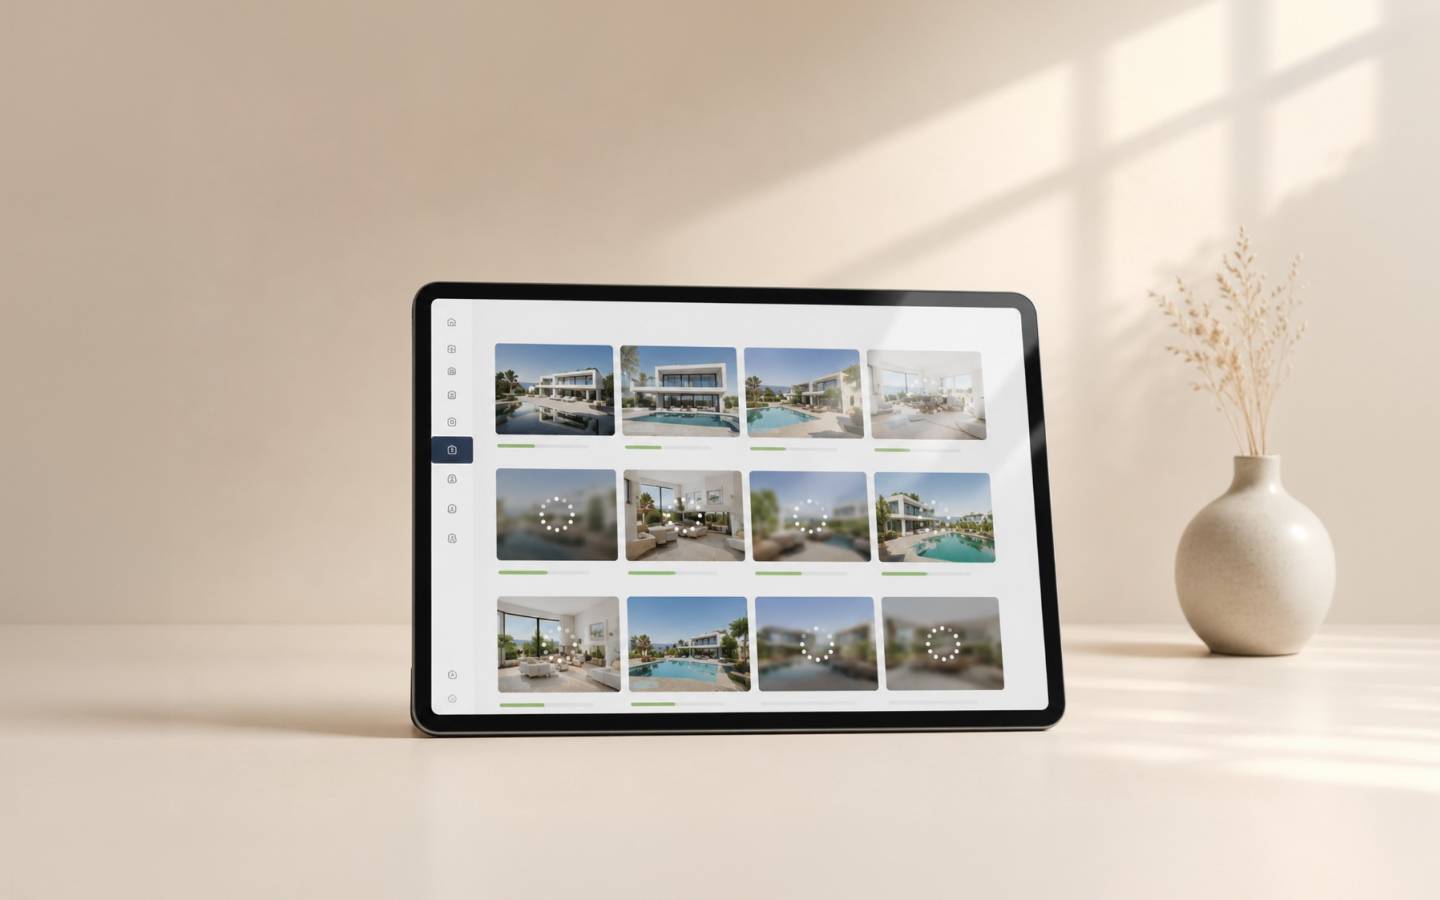



On a real estate website, photographs are essential. Buyers want to see the living room, terrace, views, swimming pool, bedrooms… and it is common for a single property listing to include 20, 30 or even more photographs.
The problem arises when these images are uploaded directly to the website with an excessively large file size.
A photograph can look perfectly sharp on screen while taking up several MB unnecessarily. Multiply that file size by all the images for a property, and you could be forcing users to download far more data than they need.
That is why, before publishing new photographs, it is worth taking a few minutes to select the best images, reduce their file size and prepare them properly for the web.
A larger image file does not always mean a better-looking photograph
Modern cameras and smartphones can produce photographs with extremely high resolutions. This is great for keeping original files, creating graphic designs or printing images, but it is not always necessary to use these files directly on a website.
An image's file size can be reduced considerably while maintaining very similar visual quality for the user.
Optimisation can even begin before you take the photographs. Both professional cameras and mobile phones allow you to configure different resolution, quality and format settings.
If you know the images will mainly be used on your estate agency website, you can review these settings to avoid creating unnecessarily large files. However, if you also need the photographs for printed advertising, professional retouching or other purposes, it is advisable to keep a high-quality original version.
The aim is not to sacrifice image quality, but to find a good balance between visual quality, resolution and file size.
Why is this particularly important for a real estate website?
Imagine a property listing with 30 photographs.
If each file is 4 MB, that means storing 120 MB of images for a single property. If we manage to reduce each photograph to 500 KB while maintaining suitable quality, those same 30 images would take up around 15 MB.
That is a considerable difference.
What's more, buyers will not always be browsing your website on a computer connected to a good Wi-Fi network. They may be using their mobile phone, relying on a slower connection or browsing while travelling.
The better optimised a page's resources are, the less unnecessary data the device will need to download.
And it is not just about convenience. Performance and page experience are among the signals Google takes into account, so managing image file sizes is also good practice when it comes to a website's technical SEO.
Simple tools to optimise your property photographs
You do not need to be a designer or have advanced technical skills. There are tools that make it easy to compress photographs and, in many cases, do not require you to install any additional software.
Here are a few options:
- Compressor.io: works directly in your browser and allows you to reduce image file sizes before uploading them to your website. It is a practical option for anyone who only needs to optimise photographs occasionally.
- ImageOptim: particularly useful for Mac users. It optimises images and removes unnecessary metadata, helping to reduce file sizes.
- Squoosh: an online alternative that also works on Windows. It allows you to adjust compression settings and visually compare the original image with the optimised result.
- Adobe Photoshop: if your estate agency already uses this programme to edit photographs, you do not necessarily need another tool. You can use the File → Export → Save for Web (Legacy) option to adjust the format, dimensions and export quality.
Many other professional photo-editing programmes also include features for exporting images optimised for publication on the internet.
So, before installing an additional tool, check whether the software you already use offers this option.
The Mediaelx CRM also optimises images automatically
If you use the Mediaelx Real Estate Solutions CRM, you should know that the system already automatically compresses and optimises images for publication on your website, aiming to maintain good visual quality.
However, the fact that the CRM compresses photographs does not mean you should always upload original files at the largest possible size.
If the images are optimised beforehand, the system will be working with lighter files, which can speed up their transfer and processing.
What's more, adopting this habit from the outset helps maintain a more efficient workflow, particularly when publishing numerous properties or managing large photo galleries.
The recommendation is simple: make the most of your CRM's automatic optimisation, but prepare your photographs before uploading them too.
Both processes can work together to make image management more efficient.
Follow these steps before publishing a new property
Optimising photographs does not have to become a complicated task.
You can build a simple routine into your property preparation process:
- Check your camera or smartphone settings. Use a resolution suited to how the photographs will be used, while keeping high-quality originals when needed.
- Select the best images. Remove duplicate, blurred or irrelevant photographs that do not provide useful information.
- Edit and resize when necessary. Adjust the lighting, framing and dimensions to suit their use on your website.
- Compress the files. Use your photo-editing software's export options or one of the recommended tools.
- Check the results. Make sure the photographs still look good, especially when marketing high-value properties.
- Upload the images to your CRM. Once prepared, they will be ready to add to the property listing.
These small steps, particularly for estate agencies publishing a large number of properties, can save time, simplify management and prevent unnecessarily large files from building up.
And remember to always keep a copy of the original photographs for future use.
A visually appealing real estate website does not have to be a slow one
High-quality photographs are one of a property's main selling points, and reducing their file size should not mean compromising on an attractive presentation.
The key is to handle images properly from the outset: choose suitable camera settings, select the best shots, use compression tools and take advantage of your CRM's optimisation features.
A good real estate website should combine attractive photographs, easy navigation and fast loading times.
At Mediaelx Real Estate Solutions, we develop Web + CRM solutions designed to make estate agencies' day-to-day work easier and provide a great experience for people searching for a property.
And remember: it is not about publishing more photographs, but about publishing the right ones, with good visual quality and optimised for the web. A small habit that can benefit both your website's performance and the experience of your potential buyers.
Image gallery